Aqua Client Installation
Hello dear reader. With this tutorial not only can you download Aqua Client but you can play it as well! Walk with me
Step 1: Download Prism Launcher
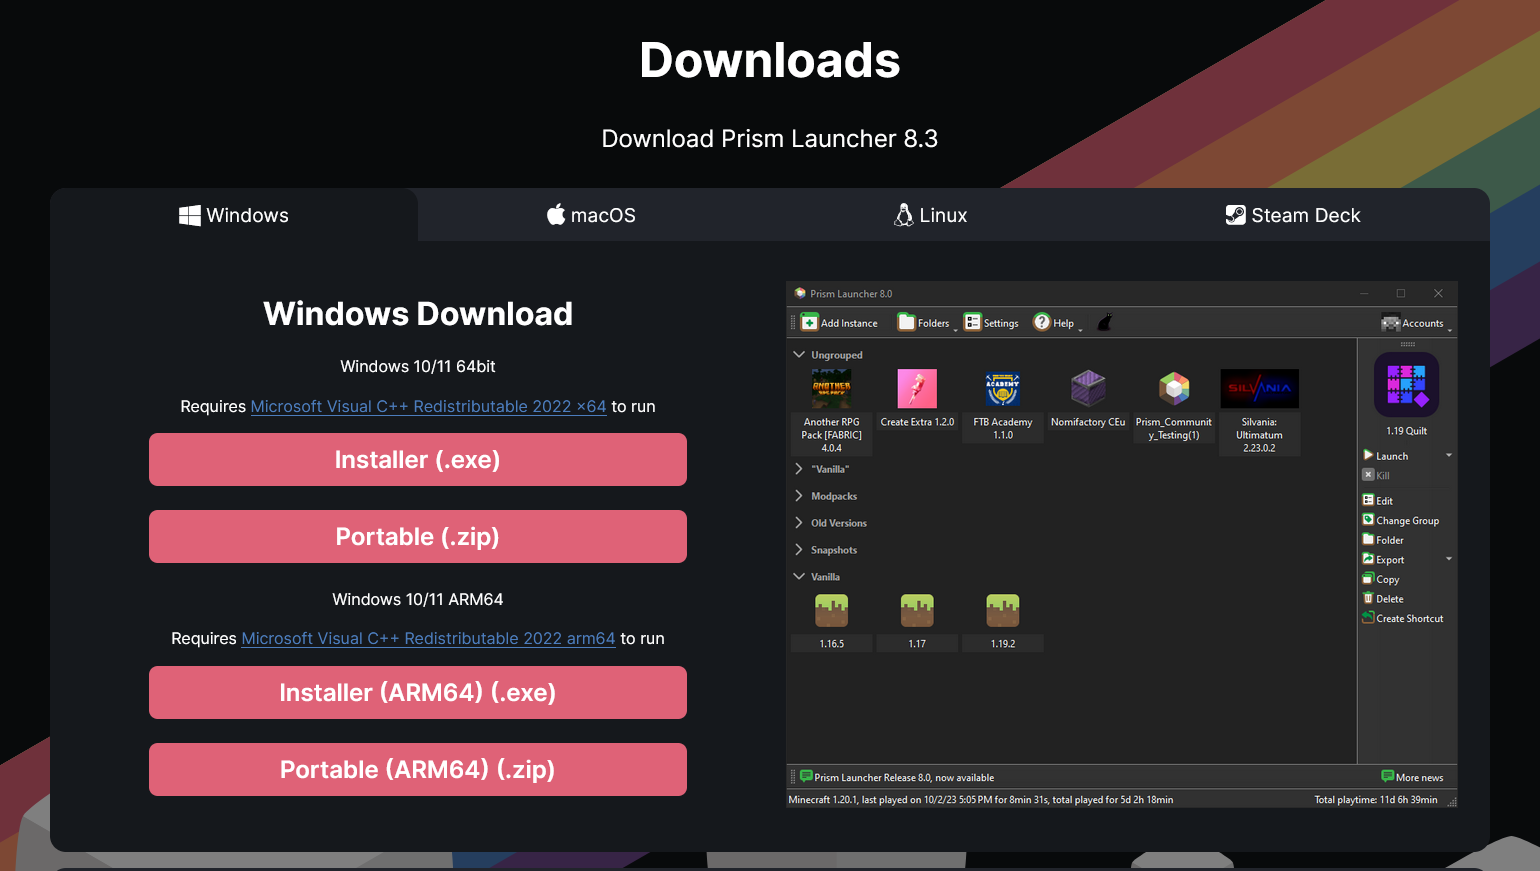
 Download and Install Prism Launcher. This is the instance format Aqua Client uses. When fully installed, launch Prism Launcher.
Step 2: Install Java 21
If you already have Java 21 installed, you can skip this step.
Make sure you have the proper version of Java installed on your computer. Aqua Client runs on newer versions of Minecraft, which require Java 21.
If you need help installing Java, see our guide here.
Step 3: Download Aqua Client
Download the Aqua Client Modpack here.
Step 4: Import Aqua Client into Prism Launcher
Inside of Prism Launcher, navigate to the top-left and press Add Instance.
Within the New Instance window, press the Import button on the left hand side.
Then, select Browse and point towards your installed Aqua Client instance zip.
Finally, once it shows the file path of your instance within the textbox, press OK at the bottom right of the window.
That's it!
Congratulations! You have successfully imported Aqua Client.
To play, simply press the Launch button on the instance you just imported.
The AquaSMP server is preloaded into the instance, so you won't need the IP to join.
Aqua Client and other required mods will automatically update when necessary.
You are free to add any other mods you wish to the instance, but be aware that some mods may conflict with Aqua Client and cause issues.
If you need additional help, don't hesitate to contact us via the methods listed in the Support section of our documentation.